So here are pics of it as I found it...


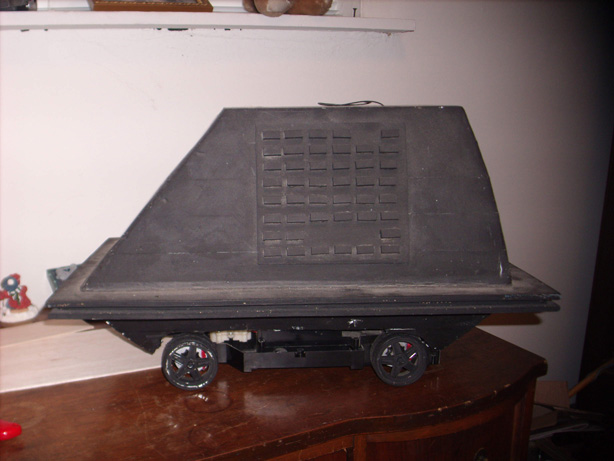

As you can see, it has seen better days. So, I went to my local craft store and picked up 3 sheets of basswood (2 of 6"x36"x3/32" and 1 of 1/8"x1"x36"), some dowel rod (24"x3/8"), 2 small packs of "people", some scotch tape, some black craft paint and brush as well as some all purpose craft glue.
The first thing I did was to repair the wheel well on the one side where it had completely broken off. I took some basswood and measured out the area it would sit and then marked where the wheels would go.


I then cut out the parts that should not be there with a sharp exacto knife. I took a bit of sand paper to smooth out the edges and then put glue all over the wood and placed it on the droid body, using tape to hold it in place.

Once that was dry, I went to work on the antennas on top. I had one but needed to recreate a new one that I thought would look good. First I took some time and re-glued the one I had to the top of the mouse droid so that I could use it to make a good comparison with the new one I was going to need to make.


So, to make a new antenna, I took my smakk sheet of wood and cut it to the width of the top of the droid. I then took and cut a second piece the same way. I took the second piece and cut it length ways so I would have one 3/4" wide and another 1/4" wide. I then glued them together to make a sort of tray looking piece.

I then took and glue 6 of the wooden "people" evenly spaced along the back of it inside the tray. Once they were dry, I gave them a coat of black paint as to get a better look at how it compared.

Next I took the dowel rod and cut 5 pieces off at 1" high, used sand paper to smooth the tops and placed them along the other edge, spaced evenly and place between the "people". Again, once dry, I painted them for comparison purposes.

It's a little different, but I do like the look. And here is where I end it toady. I will be posting the finishing of it in the next couple of days. Until then....
I hope this blog has been helpful and if you have any questions or comments, please feel free to post a comment and I'll reply to it quickly.
No comments:
Post a Comment